
HOW TO INSTALL GOOGLE CAMERA (GCAM) ON REDMI NOTE 8 PRO
While smartphone companies are equipping new smartphones with more and more cameras,
Google is tracing a different path with fewer sensors and a powerful algorithm. The Google Camera application can be considered
the Holy Grail of camera applications in Android. For that reason, we have been seeing multiple ports for various smartphones in order to
bring the best of Pixel’s camera to other smartphones. This way, it’s possible to combine the power of Google’s Algorithm with the technology
brought by the use of multiple camera sensors.
| Display | 6.53-inch (1080×2340) |
| Processor | MediaTek Helio G90T |
| RAM | up to 6GB |
| Internal Storage | 64GB |
| Front Camera | 20MP |
| Rear Camera | 64MP + 8MP + 2MP + 2MP |
| Software | Android 9 |
| Battery | 4500mAh |
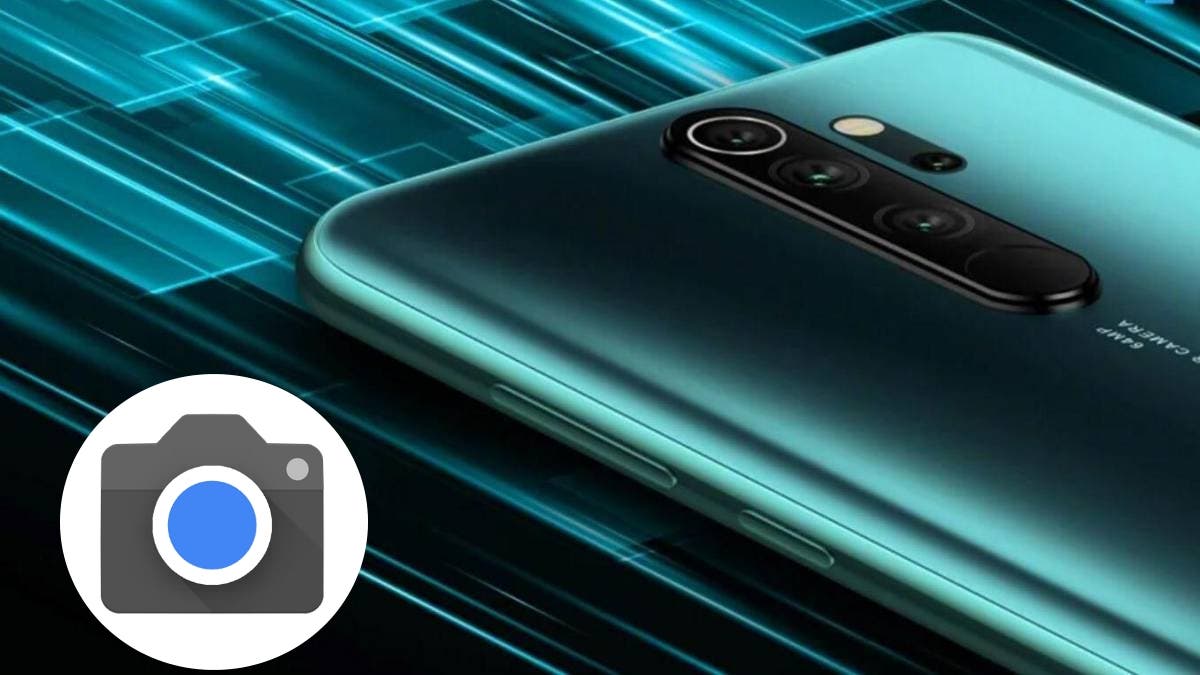
Redmi Note 8 Pro comes with four rear cameras with a 64 Megapixel camera as the main sensor, an 8 Mp secondary sensor, and two 2 megapixels other cameras. On the front, for selfies, the smartphone is equipped with a single 20 Megapixel camera. Redmi Note 8 Pro can take some decent photos but we can’t compare its photos with the flagship smartphones.
Well, you can download the google camera apk for Redmi Note 8 Pro to enhance the quality of photos is can take. Here we have provided the Google camera 7.3 apk (gcam 7.3) download link. You can directly install it from the links given below.
 |
| image sorurce GSMArena.com |
How to install Google Camera (Gcam 7.3) on Redmi Note 8 Pro
GCam for Redmi Note 8 Pro VERSION 1
STEP 1 –
First of all, you need to download the working Google Camera APK for Redmi Note 8 Pro. You can download the APK using the link mentioned below.
DOWNLOAD NOW [VERSION 1]STEP 2 –
After downloading the APK, install it like any other third-party app.
STEP 3 –
After installing the Gcam on Redmi Note 8 Pro. Open the Google Camera app.
STEP 4 –
Follow these steps after opening the app for the first time. These steps will make sure that your app is working correctly.
- Click on More Option
- Open Camera Settings
- Open BSG MOD settings.
- Input Model
- Change -Interface Style – Pixel 2
- Configurations- PIXEL2018 ZSLR HDR+
- Go back – Enable Google Photos
- Disable Zoom (Preferably)
- Enable HDR+ Enhanced in Portrait Mode
- Open Saturation
- Highlight Saturation -1.8
- Shadow Saturation – 2.4 (For REAR camera)
- Restart the app again.


![Wondershare Recoverit Ultimate With Crack [Latest]](https://blogger.googleusercontent.com/img/b/R29vZ2xl/AVvXsEjOc4qUJyPLuqB4qDxR0Q4WF-QKwuAKcGcr60Chm3BSRa1-zCSBscsrm2Mw1RPRZpOmiZEjTfGNR6xX5TWMQTC6nJFCGoiK8cXjwE17mkf17D8LzadwZBBQaycuFgASMxIeePMpoimPWpo/w680/image.png)